
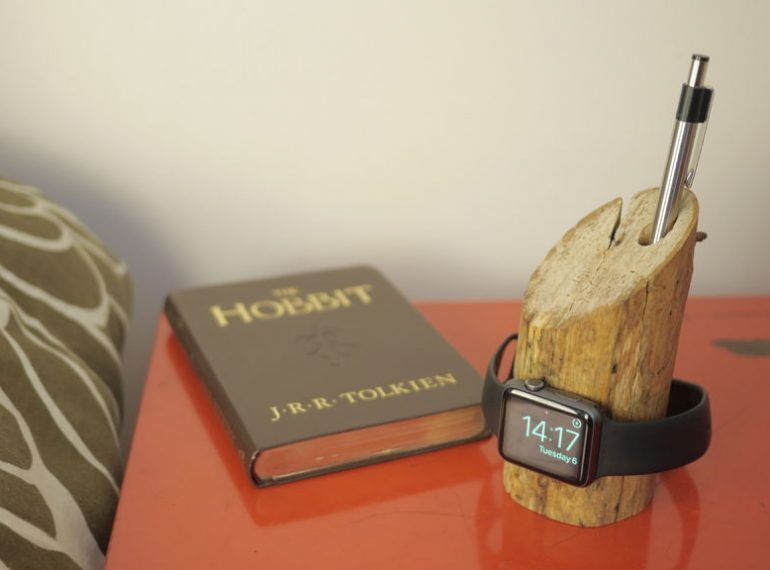
Everyone loves a little technology, none more so than the Apple Watch in the modern times. From making phone calls, tracking your latest run on the GPS through to even doing such wonderful tasks as, well…telling the time – the Apple watch is a phenomenon.
It’s easy to charge the watch on your nightstand on the charge provided, but sadly they don’t look all that visually appealing. So why not make it look amazing, like something from nature with a little bit of DIY.
So, what will you need?
To get your Apple Watch clock dock started here is what you need to gather:
Tools
- A small hand saw
- A drill
- Pocket Knife
- 1” diameter drill bit
Step 1 – Find a log and get started
Take a wander into your local park or garden – make sure you have permission to cut there (or no one sees you) you need to find a log that is not too different in size to your wrist. Also, if they have a knob or two in it, this would also be helpful to mount the watch as we will show you in the next few steps.
Step 2 – Get cutting

Firstly, use the handsaw to cut the log at 90 degrees, then move a few inches down – or as high as you want your stand to be – and make a second cut down so you have a piece that suits your end use.
Step 3 – Clean it up
Now you can see your smart watch stand starting to take shape, you’re in business. Using a pocket knife, clean up the log so that all the loose skin and bark is removed. If you want that smooth look, then use fine grit sandpaper to strip it back and make the log nice to the touch.
Step 4 – Drill the charging holes
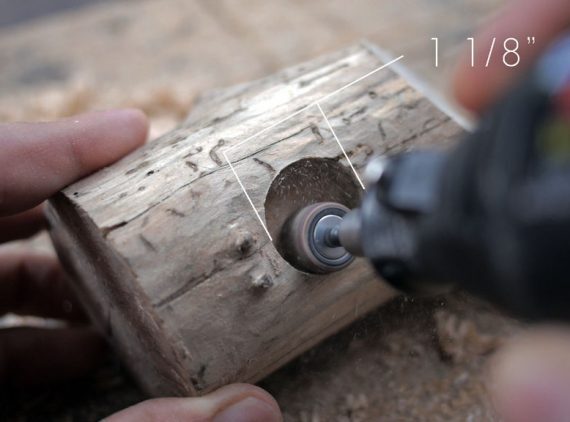
Pick you location you want your watch to be stored at. If you have found a few knots that are suitable for your watch these will be great to assist in supporting the weight of the watch. Drill a 1” diameter hole no deeper than 1/8” which will allow you to put the charging put inside.
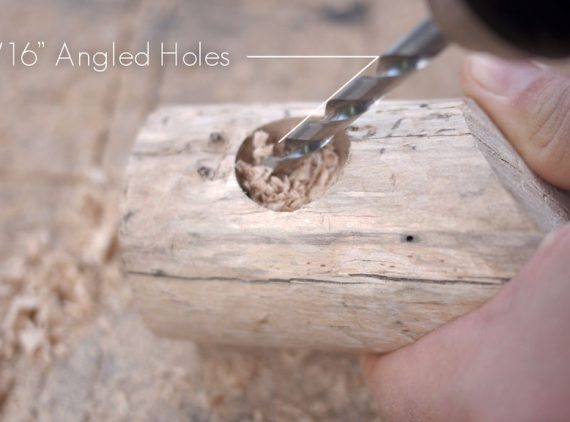
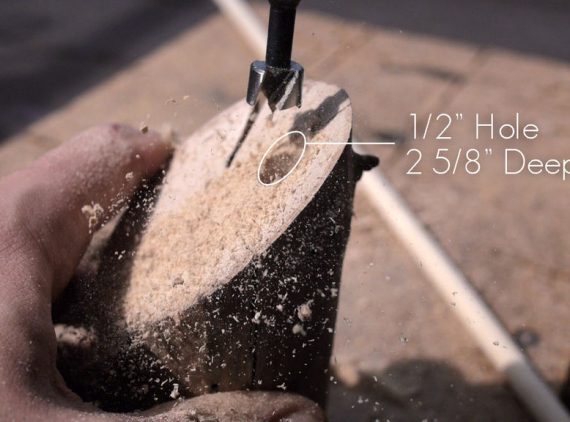
Step 5 – Drill in the USB cord hole
Drill upwards 2 x 5”16 holes at an angle from the flat bottom, these should be drilled next to each other and hollowed out to form a slot for the USB to come through.
Step 6 – Cut in the groove for puck cord
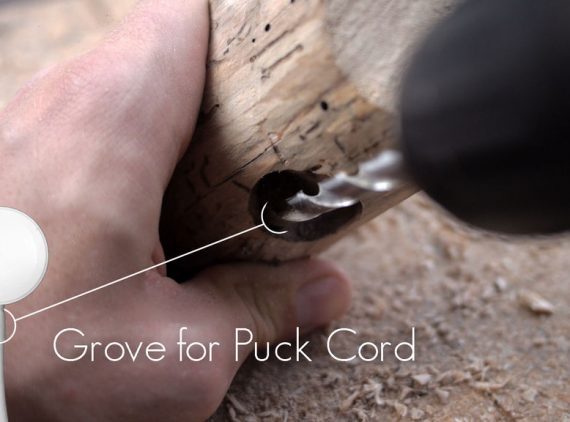
Now a small grove needs to be made between the USB slot and the front of the dock. Using a 5/16” drill bot, the rotary tool cut the groove will do the trick. You want it to be deep, so you don’t bend the cord when it pokes out of the back
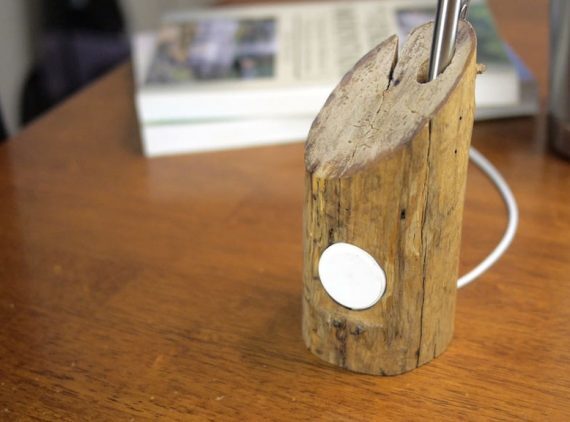
Step 7 – Drill a hole for magnets

To ensure that you charger stays in place, drill a small hole with a 5/8” drill bit at only a ¼” depth. Place a small magnet behind it to assist in keeping the dock in place.
Step 8 – Drill your dowel hole
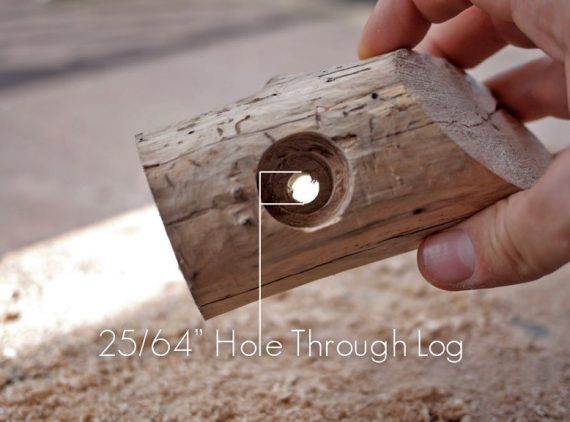
If you have more than one charger, then you can set it up permanently, however, if you only have one, you’ll need to have access to it. As such, drill a hole through the log with a 25/64” hole through the log.
Step 9 – Get the dowel organised
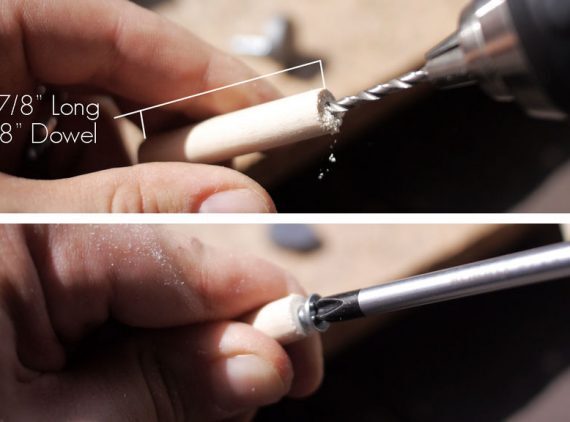
With a 3/8” dowel, we cut it in length and drilled a screw in to ensure it attaches to the magnet & holds it in place when its inserted, not to mention it allows the cord to be also held in place.
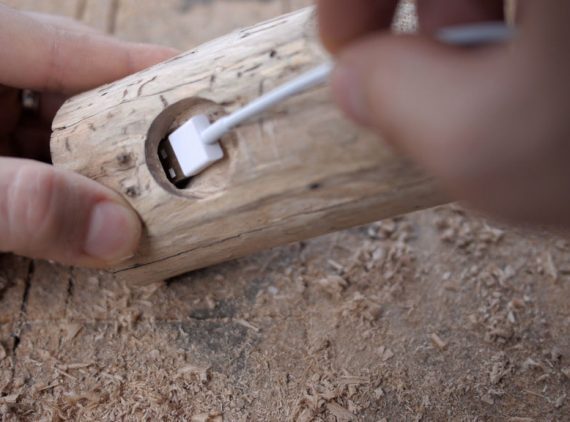
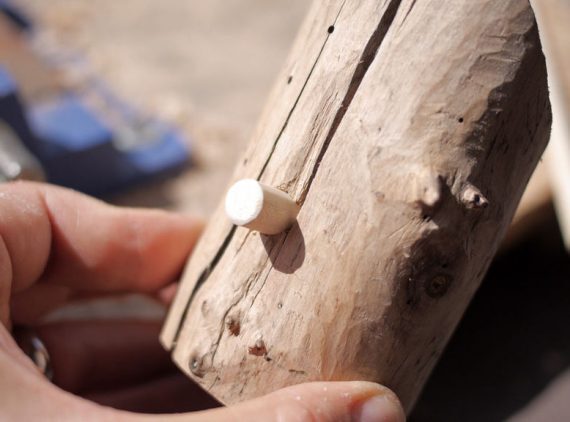
Step 10 – Insert the puck
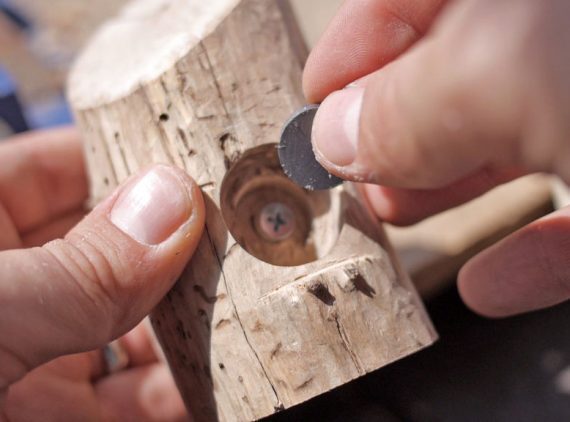
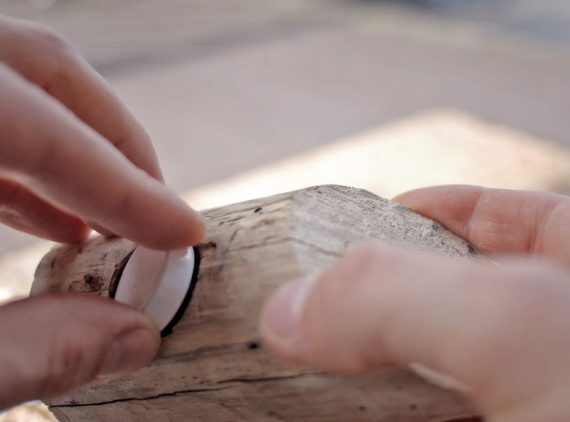
With the dowel in place and the head of the screw protruding, put the magnet in place and insert the puck. Then thread the USB cable through the log and the press the puck into place.
Step 11 – Create a ledge for a watch
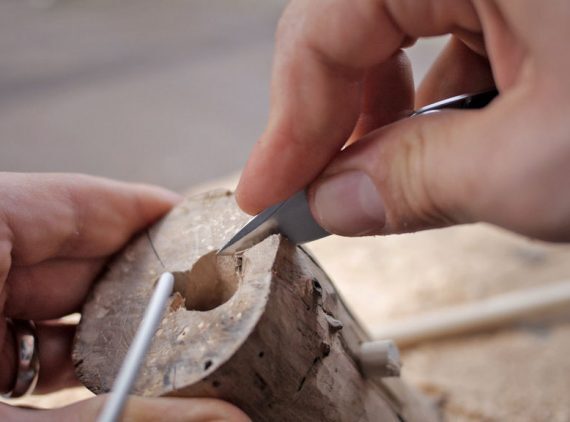
With your pen knife, create a ledge for the watch to sit on below the charger. This will be the perfect space for your watch to lay while you are having a snooze.
Step 12 – Drill some holes for pens
Why have it only single functional? Drill a hole in the top & hollow it out so you can keep pens in there by your bed.
Step 13 – Oil & enjoy
Finally, apply a few coats of Danish oil, stain or pain if you want to seal the clock dock and you’re home and hosed. Then once it’s dry, plug in and enjoy. Not only is it functional, but it works as a beside clock, pen holder and looks great. Enjoy!
What’s the point in having a bunch of expensive machinery hanging around at home when you only use it once or twice a year? With ToolMates Hire, you can rent those tools out to people in your area and make money off you’re your used items! Find out how with ToolMates Hire.
ToolMates Hire has everything you need available from people just like you in your local area. Visit www.toolmateshire.com.au for more information. As a side note, always please ensure you have the correct safety equipment whenever you are working at home or in your workshop with tools.


Leave a Reply