Installing a gas fireplace insert can transform an existing, underused fireplace into a beautiful and efficient heat source. This DIY project can be quite rewarding, but it’s important to proceed with caution and respect for safety protocols. Below, we’ll guide you through the steps for installing a gas fireplace insert, including the tools you’ll need and some tips to make the process smoother.
Installing a Gas Fireplace Insert in an Existing Chimney
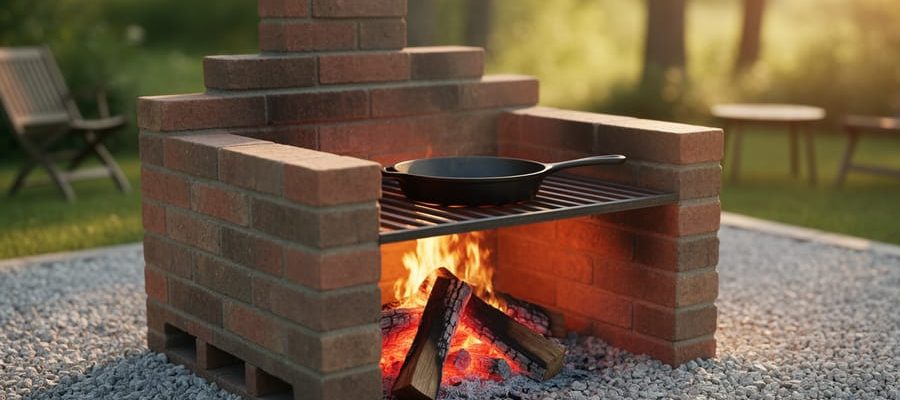
A gas fireplace insert is a unit that fits into an existing fireplace chimney, converting it from wood burning to gas. They come in various styles and sizes, making it easy to find one that matches your home’s aesthetic. Not only do they provide efficient heating, but they also add a cozy ambiance to any room.
Tools and Materials Needed
Before you start, ensure you have all the necessary tools and materials. Here’s a checklist:
- Gas fireplace insert
- Flexible gas line
- Screwdriver
- Adjustable wrench
- Drill with masonry bit
- Pipe wrench
- Teflon tape (for gas fittings)
- Metal vent piping
- Level
- Stud finder
- Jigsaw or handsaw (for any wood trimming)
- Fire-resistant caulk
- Safety gear (gloves, goggles, dust mask)
Step-by-Step Installation Guide
Step 1: Choose the Right Insert
Selecting the right insert involves more than just measuring the dimensions of your fireplace opening; it also requires considering the insert’s BTU (British Thermal Units) rating to ensure it provides adequate heat for your space without being overpowering. Take the time to research different models and styles to find one that not only fits physically but also complements your room’s decor.
Step 2: Remove the Existing Fireplace Insert (if applicable)
If you’re replacing an old insert, you need to carefully remove the existing fireplace insert. This may involve disconnecting the gas line and electrical connections, if present. Use caution and ensure all utilities are turned off before beginning removal. This step is crucial for preparing the space for your new insert and gives you the opportunity to clean and inspect the fireplace thoroughly.
Step 3: Inspect and Prepare the Fireplace
A thorough inspection of your fireplace and chimney is necessary to identify any potential issues that could complicate the installation or pose safety risks. Look for signs of damage or wear in the chimney liner and firebox. Cleaning the fireplace area not only prepares it for the new insert but also gives you a closer look at the condition of the masonry and hearth.
Step 4: Turn Off the Gas and Electricity
Turning off the gas and electricity to your fireplace area is a critical safety step that prevents accidental leaks or electrical shorts during the installation process. This precaution is especially important when you’re working with gas line connections and electrical components of the insert.
Step 5: Install the Gas Line
For homes without an existing gas line to the fireplace, hiring a certified professional to install one is strongly advised to ensure it meets local building codes and safety standards. When connecting the gas line to your new insert, double-checking for a secure and leak-free connection is essential for safe operation. The use of Teflon tape on the threads can help create a more reliable seal.
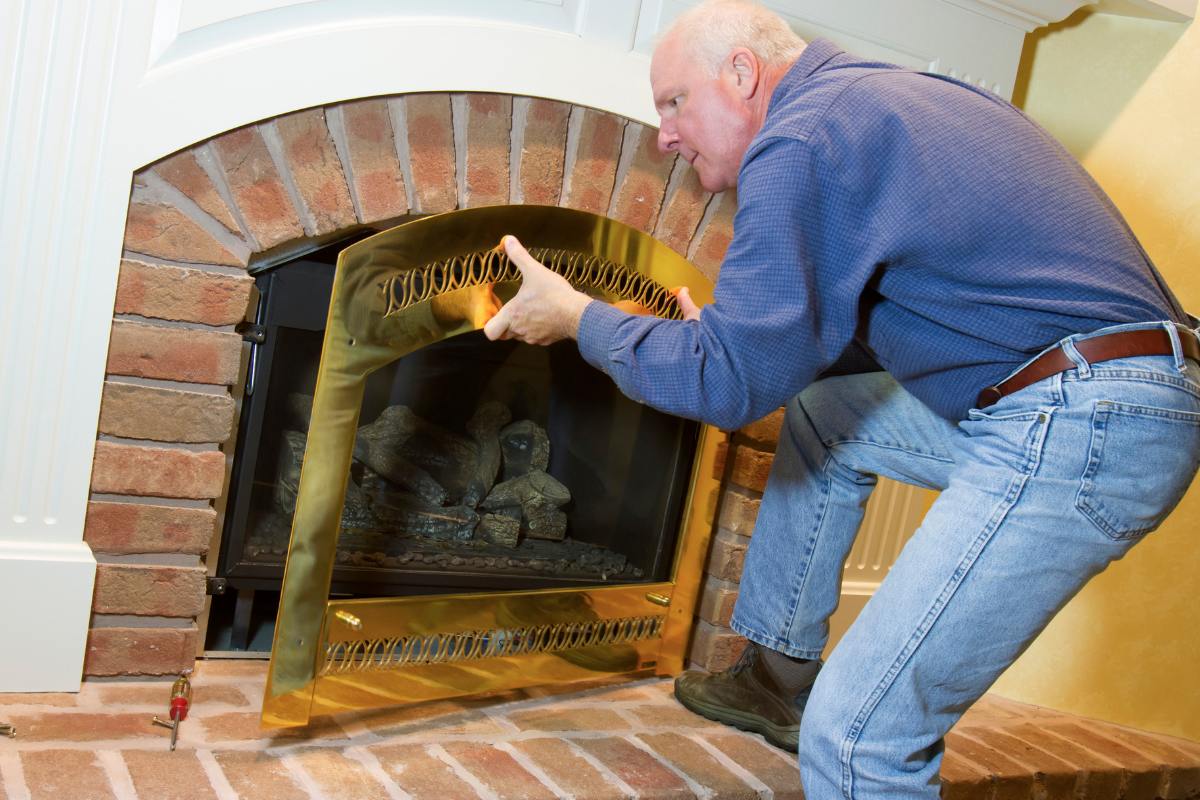
Step 6: Fit the Insert
Carefully positioning the insert into the fireplace opening requires patience and precision. Ensuring the unit is level is crucial for both aesthetic and operational reasons, as an uneven insert can lead to improper flame appearance and potentially affect the efficiency of the unit.
Step 7: Secure the Insert
Securing the insert firmly in place is vital to prevent any movement that could disrupt gas line connections or venting alignments. Drilling into masonry can be challenging, so using the right bit and taking your time will help create a secure anchor for the insert.
Step 8: Install the Venting System
Proper venting is critical for safely removing exhaust gases from your home. Following the manufacturer’s instructions for your specific model will ensure that the venting system is installed correctly, minimizing risks associated with gas appliances. Sealing all joints with fire-resistant caulk helps prevent leaks that could allow harmful gases into your living space.
Step 9: Check for Leaks
Testing for gas leaks is a non-negotiable step in the installation process. Even small leaks can pose significant risks, so applying a soap and water solution to all connections and watching for bubbles can help identify any issues that need to be addressed before proceeding.
Step 10: Final Touches
Reconnecting the electricity to your insert, if it features electric components, is one of the final steps before you can enjoy your new fireplace. Once everything is connected, and the gas is turned back on, lighting the pilot light as per the manufacturer’s instructions is a moment of truth, indicating your installation has been successful.
Step 11: Enjoy Your New Fireplace
With the installation complete and your fireplace insert tested and working correctly, you can now enjoy the cozy ambiance and warmth it brings to your home. This project not only enhances your living space but also can increase your home’s value and appeal.
Safety Tips and Considerations
The emphasis on safety throughout the installation process cannot be overstated. From the careful selection of the insert to the meticulous testing for gas leaks, each step incorporates safety measures designed to protect you and your home. The installation of carbon monoxide detectors and ensuring adequate room ventilation are proactive steps towards maintaining a safe living environment, highlighting the broader considerations that extend beyond the installation itself.
Installing a Gas Fireplace in a House Without One
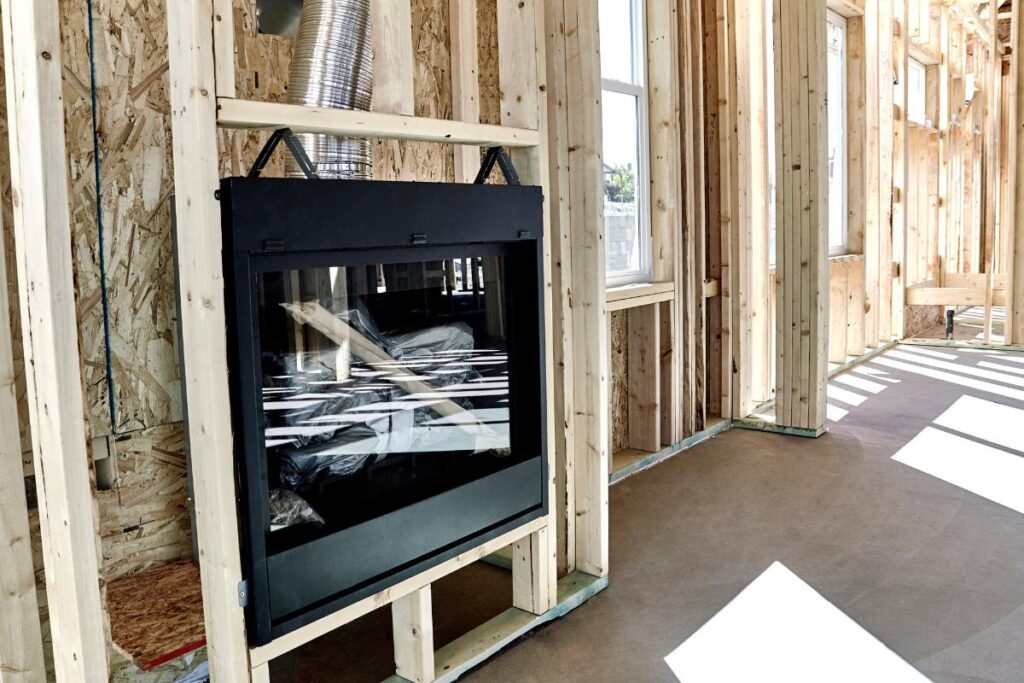
If your house does not have an existing fireplace, installing a new gas fireplace involves a more complex and different process. Here are some key points to consider for installing a standalone gas fireplace in a home without an existing chimney:
- Choosing a Fireplace: You’ll need to select a gas fireplace that is designed as a standalone unit, which can be direct-vent, vent-free, or natural vent, depending on your preference and local building codes.
- Location and Venting: Decide where you want to install the fireplace and determine the best venting option. Direct-vent fireplaces, for example, require access to an exterior wall to vent directly outside, making them one of the safest and most efficient options.
- Building Codes and Permits: Check your local building codes and obtain any necessary permits. This is crucial as the installation will likely involve structural changes, gas line installation, and venting considerations.
- Gas Line Installation: A certified professional should install a new gas line if one is not already in place. This is essential for ensuring the safety and compliance of your installation.
- Framing and Installation: Installing a new fireplace without an existing one may require building a frame or chase to house the unit and venting. This might involve significant construction work, including cutting through walls or ceilings for vent installation.
- Professional Help: Installing a new gas fireplace is complex and includes a gas line installation, venting, and adhering to building code. We recommend to hire professionals. A licensed contractor and a certified gas technician can ensure that the installation is safe, efficient, and compliant with local regulations.
- Final Inspection: Once the installation is complete, a final inspection by a local building inspector or a certified professional might be required to ensure everything is up to code and safely installed.
Summary
When setting up a new gas fireplace, choose the right type based on your needs and local rules. It’s important to pick a spot in your home that allows for safe venting, like near an exterior wall for direct-vent fireplaces. Make sure to follow local building codes, get the necessary permits, and have a professional install the gas line to ensure safety. Because installing a fireplace can involve big changes to your home, we recommend hiring experts for a safe and correct setup. Lastly, a professional check the installation to make sure everything is right and safely.
Related Posts

Post a Comment