
Don’t have the fortune of a lot of outdoor space? Maybe your entertaining area is a bit of a mess? Or maybe you just love diy! Why not build your own outdoor storage bench with ToolMates Hire!
Step 1: Build the base
Whether you do it yourself or at the hardware store, you need to have 2″x 3″ boards cut to make two frames for the sides, and three frames for the middle, front and back. These measurements will build a 39″ x 39″ x 17″ structure, minus the feet and cushion.
First, build the individual frames (five total: front, back, middle and two sides), using a corner clamp to hold the boards together to drill pilot holes and put in the screws. A speed square helps to make sure that the middle board is at a 90 degree angle.
Step 2: Put the base together
Use clamps to hold the frames together to drill pilot holes and put in the screws. You want to put the screws near the outside edge and high enough to avoid the existing screws.
Step 3: Stain the wood

Stain the frame and the boards with a solid white weather proofing stain
Step 4: Add feet

Add feet made from 1′ x 2″ to elevate the bench to facilitate water drainage
Step 5: Attach the 1″ x 6″ boards to the frame
Place the first board flush with the bottom of the base and overhang it to cover the side boards, drilling pilot holes before putting in the decking screws (1 1/4″ long). I used a 1/4″ thick plywood spacer in between the boards so that the sides would go up past the frame to cover the top boards and to keep the cushion in place.
Step 6: Build the top

Attach two 1″ x 6″ boards at the back and one at the front of the frame. Then build a panel 1″ x 6″ boards attached to furring strips (1″ x 2″), without leaving any gap in between the boards and making sure the furring strips are inside enough so they don’t hit the frame of the bench when the panel is down. Make a simple handle by drilling holes and knotting a string and attached the panel to the back board with hinges. You need to leave some space between the front board and the panel to give it enough room to open easily.
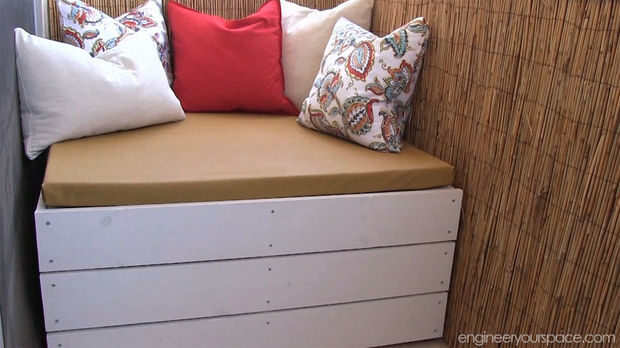
Step 7: Enjoy your bench!
Related Posts

Post a Comment