
A safety zone marks the critical boundary between hazardous work areas and secure spaces where workers and pedestrians can safely navigate without risk of injury from falling objects, heavy machinery, or construction activities. These designated areas, marked by highly visible barriers, warning signs, and often protective overhead structures, serve as the first line of defense in preventing workplace accidents and protecting public safety. Whether you’re managing a construction site, operating heavy equipment, or overseeing demolition work, establishing proper safety zones isn’t just a regulatory requirement—it’s a fundamental practice that saves lives and prevents injuries. Understanding the key components of an effective safety zone, including proper dimensioning, clear marking protocols, and essential protective elements, enables project managers and safety officers to create secure work environments while maintaining operational efficiency.
What Defines a Construction Safety Zone
Physical Boundaries and Markers
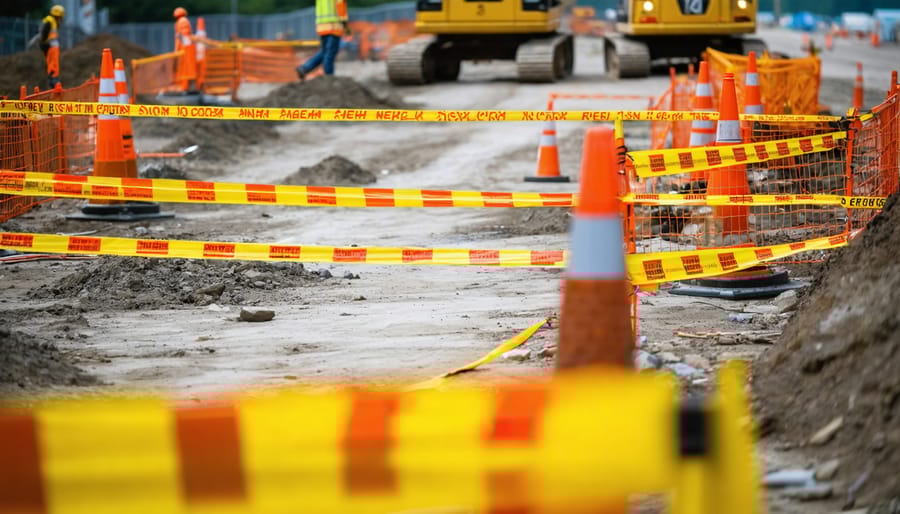
Physical boundaries play a crucial role in establishing and maintaining effective safety zones. Temporary barriers and fencing are the most common and visible markers used to clearly define these protected areas. High-visibility safety tape, typically in yellow and black or red and white stripes, provides an immediate visual warning to workers and visitors.
Sturdy steel barriers or plastic jersey barriers serve as robust physical deterrents, especially in areas with vehicle traffic. For more permanent installations, chain-link fencing with appropriate warning signage offers both security and visibility. Safety cones and bollards can be used to create flexible boundaries that are easily repositioned as work progresses.
When selecting boundary markers, consider factors like weather resistance, visibility in different lighting conditions, and ease of installation. Remember to maintain these barriers regularly and replace damaged components immediately. For maximum effectiveness, combine physical markers with clear warning signs and ensure all boundaries are properly illuminated during night work.
Required Safety Zone Distances
The minimum distance requirements for a safety zone vary depending on several key factors, including the type of work being performed, equipment in use, and potential hazards present. For standard construction work, maintain at least a 6-foot clearance around the immediate work area. When working with heavy machinery or excavation equipment, this distance should increase to 10-15 feet minimum.
For overhead work or tasks involving falling object risks, calculate the safety zone using the “4-to-1” rule: for every 4 feet in height, extend the safety zone by 1 foot in all directions. Projects involving hazardous materials or specialized equipment may require larger zones, sometimes up to 50 feet or more.
Weather conditions can also affect required distances. Strong winds may necessitate larger safety zones, especially when working with lightweight materials or dust-producing activities. Always consult local regulations and job-specific safety requirements, as these can override general guidelines. Remember that these distances are minimums – when in doubt, err on the side of caution and establish a larger safety zone.
Essential Safety Zone Components
Signage and Warning Systems
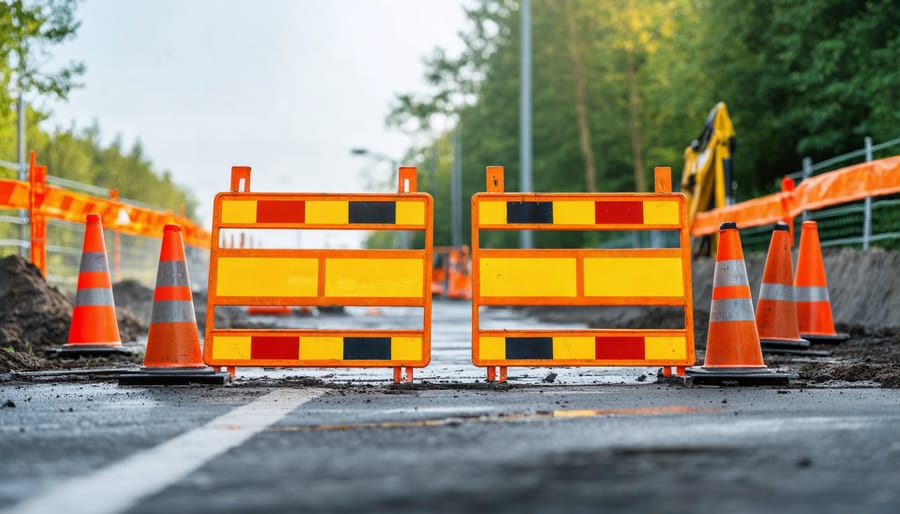
Proper signage plays a crucial role in enhancing visibility and safety within designated safety zones. Common safety zone markers include reflective barriers, high-visibility tape, and essential warning signs that alert workers and passersby to potential hazards. Signs should be placed at all entry points and at regular intervals around the perimeter, typically every 10-15 meters depending on visibility conditions. For maximum effectiveness, use a combination of visual warnings (signs and tape) and physical barriers (cones or fencing). Remember to keep signs clean, well-maintained, and properly illuminated during low-light conditions. Regular inspection of warning systems ensures they remain visible and effective throughout the duration of work.
Access Points and Control Measures
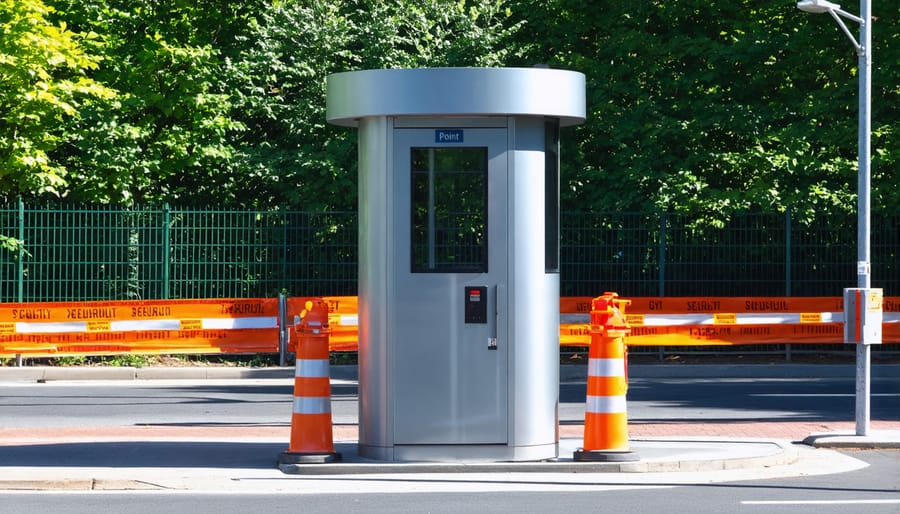
Effective safety zones require carefully managed entry and exit points to maintain their protective function. Establish clear, well-marked access points using high-visibility barriers, safety tape, or fencing. Post designated personnel at entry points during active work periods to monitor and control access. Install warning signs that clearly communicate restricted access and any specific requirements for entry, such as PPE or authorization credentials.
Consider implementing a check-in/check-out system for authorized personnel, ensuring accountability and tracking who enters the zone. For larger sites, use temporary barriers that can be easily relocated as work progresses. Position access points away from high-risk areas and ensure they don’t create additional hazards. Remember to maintain clear emergency exit routes that remain unobstructed at all times, allowing quick evacuation if needed.
Setting Up an Effective Safety Zone
To establish an effective safety zone, start by clearly marking the perimeter with high-visibility tape, cones, or barriers. Keep the area at least 6 feet away from any potential hazards, such as moving equipment, falling objects, or construction activities. For overhead work, extend this distance to 10 feet or more, depending on the height and nature of the work.
Ensure all access points are clearly labeled with appropriate warning signs and safety instructions. Position these signs at eye level and make them visible from all angles of approach. Remove any trip hazards, debris, or unnecessary materials from the safety zone and maintain clear pathways for emergency exits.
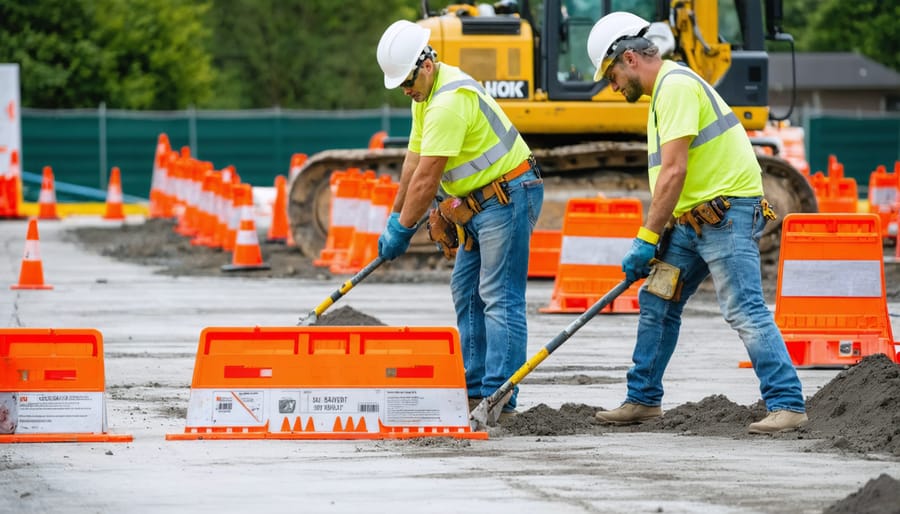
When working with power tools or heavy machinery, establish designated operator zones within the safety zone. Mark these areas with floor tape or paint and restrict access to authorized personnel only. Consider environmental factors like wind direction, sun glare, and surface conditions when positioning your safety zone.
Regular maintenance is crucial. Inspect barriers and markings daily for damage or wear, and replace them as needed. Keep a safety zone checklist handy and document any changes or incidents. Train all workers on safety zone protocols and conduct periodic drills to ensure everyone knows how to respond in emergencies.
Remember that safety zones are dynamic spaces that may need adjustment as work progresses. Review and update your safety zone layout whenever site conditions change or new hazards are identified.
Common Safety Zone Mistakes (And How to Avoid Them)
Even experienced workers can make mistakes when establishing safety zones. One common error is making the zone too small, which doesn’t provide adequate protection from falling objects or moving equipment. Another frequent mistake is failing to clearly mark boundaries with proper signage and barriers, leading to accidental zone breaches.
Some workers overlook the need to regularly reassess and adjust safety zones as work progresses. Site conditions change, and your safety zone should evolve accordingly. Additionally, poor communication about zone protocols and not designating a specific person to monitor the area can compromise safety.
To avoid these pitfalls, always err on the side of caution with zone size, use highly visible markers, establish clear communication protocols, and perform regular safety checks. Remember to document any changes and ensure all workers understand current safety zone boundaries and requirements.
Safety zones are fundamental to maintaining a secure work environment, protecting both workers and bystanders from potential hazards. By implementing proper safety zones, you create designated areas that prevent accidents, control access to dangerous equipment, and establish clear boundaries for all parties involved. Remember to regularly assess and adjust your safety zones based on changing work conditions and equipment requirements. Whether you’re a DIY enthusiast working on a home project or a professional contractor managing a construction site, never compromise on safety zone standards. Taking the time to properly establish and maintain these protective boundaries isn’t just about following regulations—it’s about ensuring everyone returns home safely at the end of the day.
Related Posts

Post a Comment