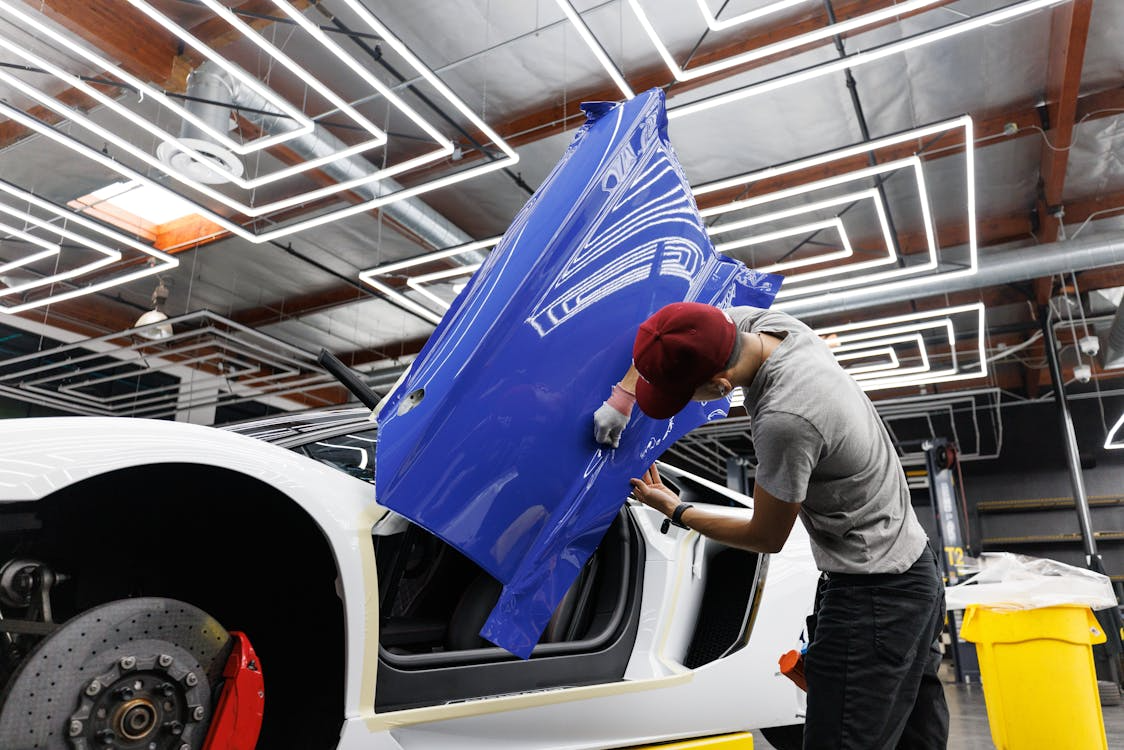
Most people think panel beating is just “bashing dents out.” It’s not. Good repairs are controlled, precise, and tool-driven. The right hammer can smooth a panel with minimal risk of stretching the metal. The right puller can bring a dent back without tearing the metal.
And the wrong tool? That’s how you end up with waves, filler overload, and paint that never looks quite right. In this guide, I’ll walk you through the tools panel beaters actually use, from hammers and dollies to stud welders and slide hammers, plus what each one does and when it matters.
Why the Right Tools Matter
The right tools matter in panel beating because small mistakes don’t stay small. A dent that could’ve been eased out cleanly can turn into stretched metal, heavy filler, and a repair that never looks quite right.
And most of the damage panel beaters see isn’t dramatic. It’s everyday stuff like parking knocks, trolley dings, scraped bumpers, and little creases from tight garages. Those “minor” hits still need precision.
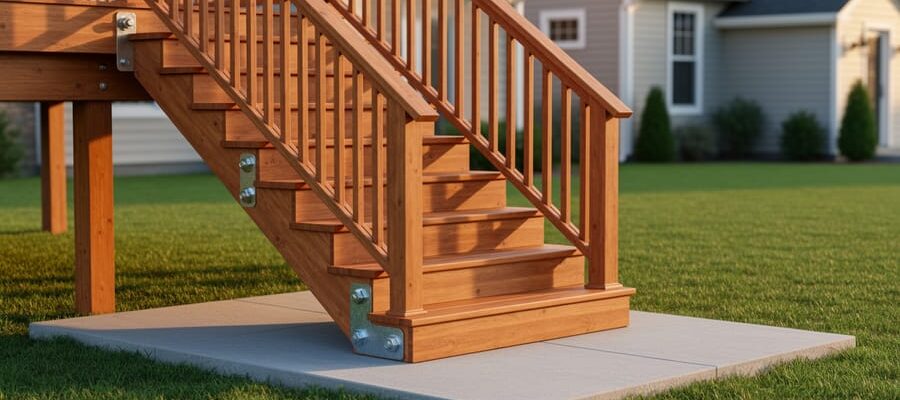
That’s where the right tools and a smart setup make a difference. For small damage, mobile services can be a practical option when you don’t need a full workshop repair.
Pro Mobile Touch Ups operates in Australia and uses compact, purpose-built gear to handle common cosmetic issues on-site. This includes careful prep, controlled sanding, clean masking, and tidy finishing.
If you’re in Queensland, Pro Mobile Touch Ups in Brisbane is a good example of how mobile repairs can save time while maintaining professionalism and consistency.
This guide breaks down the tool categories and what they’re used for, step by step: shaping metal, pulling dents, cutting and welding when needed, sanding and filling, then priming, painting, and finishing so the repair blends and holds up. Because in this trade, the tools don’t just make the job faster. They make it right.
The Core Shaping Tools: Hammers, Dollies, and Slappers
The core shaping tools in panel beating are simple, but they’re not “basic.” They’re how a good tech controls metal instead of bullying it.
Start with panel beating hammers. A pick hammer is handy for tight lows and small, stubborn dings. A cross-peen gives a more focused, linear hit, which is useful along edges and body lines. Bumping hammers help move metal in the early stages, while finishing hammers are used to smooth and planish as you get closer.
Then you’ve got dollies, the backup “anvil” held behind the panel. Heel-and-toe dollies help you match curves and reach awkward spots. A general-purpose dolly covers most everyday shapes, and spoon dollies support broader areas without leaving sharp marks.
Finally, slappers and spoons are great for gentle smoothing because they spread the impact over a wider area, helping you refine the surface without overstretching it. The technique is the real secret. Use light, controlled strikes, work the highs and lows gradually, and let the metal move in small steps.
Pulling and Straightening Tools: Slide Hammers, Stud Welders, and Pullers
Pulling tools are what you reach for when a dent won’t ‘massage out’ from the back. They let you grab the low spot and bring the panel back into shape, slowly and deliberately.
A slide hammer is the classic. You attach it to a tab, screw, or stud and use the sliding weight to pull the dent outward. It’s useful when you need a controlled pulling force without smashing the panel.
If you can’t access the back of the panel, a stud welder is a game-changer. It welds small pins (studs) onto the dent so you can pull from the outside with a slide hammer or puller, then remove the studs and prep the surface.
For quick, shallow dents, glue puller kits can work, especially when the paint is in good shape. If the paint is cracked or weak, though, glue pulling can lift it, so you have to be careful.
For bigger pushes and alignment work, porta-power kits and hydraulic rams provide serious force for spreading, pushing, and straightening.
Clamping, Holding, and Measuring: Keeping Panels True
Clamping and measuring are the unglamorous parts of panel work, but they’re what keep everything true. Before you weld, fill, or paint, the panel has to sit in the right place and stay there.
For holding and alignment, panel beaters lean on locking pliers, panel clamps (often used to hold a clean gap for butt welding), and cleco pins to temporarily fasten panels while you test fit and adjust. They’re simple tools, but they save you from having to chase misalignment later.
Then comes measuring. A straight edge helps you spot waves and high/low areas, while a tram gauge is commonly used in collision repair to check key distances between reference points, which is handy for confirming things are square and symmetrical.
The basics are straightforward: check panel gaps, confirm symmetry side-to-side, and measure from known reference points before you lock anything in. If it lines up now, the finishing stage becomes a lot easier.
Cutting and Welding Tools: Removing and Replacing Damaged Metal
When a panel is too far gone, you don’t ‘push it out’. You cut it out and replace the damaged metal. That’s where cutting and welding tools come in.
For removal, shops commonly use cut-off wheels for quick, clean cuts, air saws for more controlled trimming, nibblers for cutting sheet metal with less heat and distortion, and spot weld cutters to separate factory seams without shredding the surrounding panel.
On the welding side, MIG is the workhorse for auto body repair because it’s fast and practical on thin steel. TIG is slower but gives more precision and control for delicate work. And spot welders mimic factory-style joins when you’re recreating original seams.
Heat control is everything. Too much heat can warp panels or cause burn-through, so it’s all about short welds, spacing, and letting the metal cool. And don’t skip safety: PPE, good ventilation (welding fumes matter), and basic fire-watch habits after welding.
Tools Don’t Fix Cars—Technique Does
Panel beating isn’t brute force. It’s choosing the right tool, using it with control, and checking your work as you go. Do that, and repairs stay straight, smooth, and easy to finish. Cut corners or use the wrong gear, and you’ll chase waves, filler, and mismatched paint later.
Related Posts
Post a Comment