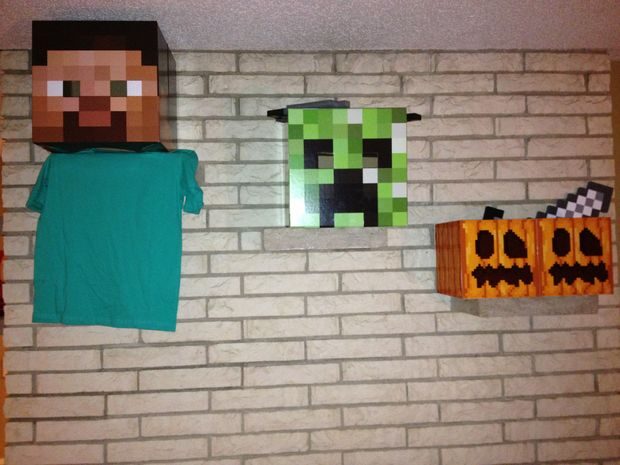
Do your kids love getting into the spirit of Halloween? Do they also spend countless hours playing Minecraft? Well, why not combine their two great loves to create the ultimate combination that will be the envy of all the trick or treating neighbourhood.
The great thing about this project is that although we created a ‘Minecraft’ Halloween box, depending on your children’s passions, you can create just about anything!
Not only that, but getting your little ones away from the Xbox or iPad and outside building, creating and using their hands in a ‘real world’ activity for the whole family to enjoy is creating memories that will last a lifetime – let’s get started.
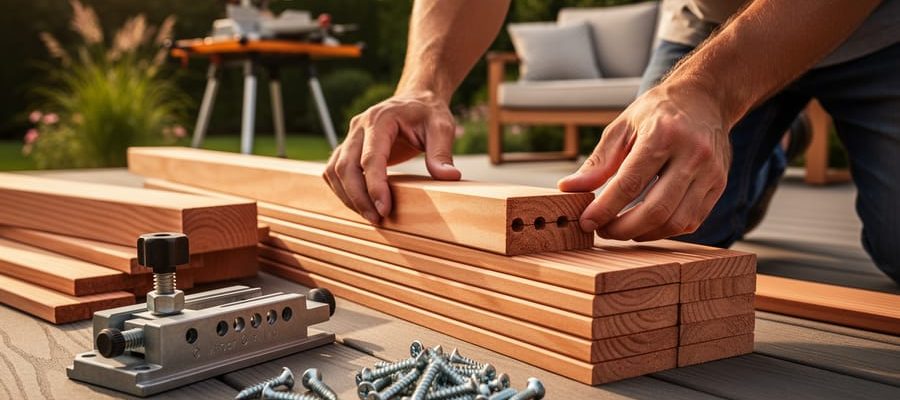
Here are the tools and materials you’ll need to create your very own crafty treat containers that will be the hit of your town this coming Halloween.
Tools
- Safety glasses
- Ear muffs
- Table saw
- Hammer
- Scissors
- Colour photo printer
Materials
- ¼ “ plywood
- Wood glue – liquid nails ideally
- 1” x 2” board
- Orange paint
- Black paint
- Finishing nails
- Photo paper
- Craft glue
Step 1
nGetting prepared


Like all good projects, it is important to prepare. Firstly make a list of the cuts required, as you can make the boxes essentially any size you like depending of course on the size of your children – or big kids – that are going the be running around collecting the treats.
Map out your sides (4) and base, mark up your plywood and cut using your table sure – ensuring all little hands are well out of the way.
Take the time to make sure all of your measurements are spot on so you get the right size box otherwise your treat container could wind up a little worse for wear.
Step 2
nCreate the boxes

With the cuts carefully done, create the box attaching the sides to the base using wood glue.
As the plywood is very light, you don’t need a vice to hold things in place, but painters tape, duct tape or similar should do the trick while you wait for the glue to dry. Anyone who has used liquid nails knows….it won’t take long and this box is never coming apart and can be used for Halloweens for the next decade!
Step 3
nGet the kids painting

Now comes the time to get the kids involved.
With only the insides requiring painting – as printing will be done on the outside. That being said, if your children want to create their own ‘scary monster’ box, then this will do!
However, to create a ‘pumpkin-like’ box, orange is always a great start for Halloween nights!
Step 4
nAttach the handles for carrying all the loot

After painting the inside of your box, you can get your handle cut to size & attached to the inside of the box.
Use some of the wood glue & small nails to secure the handle in place.
Remember to sand & paint well, even consider sealing to ensure there are no splinters into little hands along the hunt for treats.
Step 5
nSkin your box and make it look cool

Looking at websites such as minecraftpapercraft.com you will be able to find a range of skins for your boxes. You can look for just about anything to decorate the outside of your box.
You will be able to adjust the size and clarity of your photo if it is blurry and/or pixelated using programs like Adobe Photoshop – which you can download online – importing the file & resampling using “nearest neighbour” functionality – such as that in the photo provided.
With the photo and size looking good – remembering to re-measure the outside diameter of your box to ensure you are spot on with your sizing – do a test run through your printer before using the photo quality paper – as this stuff can be expensive.
Using craft glue, attach the images to the box; ensuring there are not too many bubbles and the glue doesn’t get on the photo.
When you’ve followed all these steps, you will be left with the ultimate Halloween candy container for your kids to use as they scope out your neighbour tricking and treating the sweets out of your neighbours.
Toolmates offers a wide range of options for hiring and sharing your tools in your local neighbourhood. If you have plenty of tools lying around why not make some more by hiring them out to locals looking to undertake local DIY projects. Jump onto our website www.toolmateshire.com.au to find out more and sign up for your profile.

Related Posts

Post a Comment