

Transform your auxiliary battery system with a professional-grade DC-to-DC charger installation that delivers consistent, reliable power for your overlanding adventures or van life setup. Master the installation process by first calculating your power requirements, selecting the right amperage rating, and gathering essential tools like crimpers, heat shrink, and appropriate gauge wiring. This comprehensive guide walks you through mounting locations, wiring configurations, and crucial safety considerations to ensure your dual-battery setup performs flawlessly.
Whether you’re powering a camping fridge, lighting system, or communications equipment, a properly installed DC-to-DC charger acts as the backbone of your vehicle’s electrical system, intelligently managing power distribution between your starter and auxiliary batteries. Learn how to integrate modern charging technologies with features like solar input capability, multi-stage charging, and temperature compensation – ensuring your batteries receive optimal charging profiles regardless of driving conditions.
Get ready to elevate your vehicle’s electrical system with professional-grade results, while saving hundreds on installation costs. This DIY project requires intermediate electrical knowledge, roughly 4-6 hours of focused work, and careful attention to safety protocols – but delivers lasting value and reliable performance for years to come.
Essential Tools and Materials
Tools Checklist
Before starting your DC-to-DC charger installation, gather these essential installation tools to ensure a smooth process:
• Wire strippers/crimpers – For preparing and connecting wiring
• Digital multimeter – To test voltage and connections
• Socket set (10mm-13mm) – For mounting bracket installation
• Phillips and flathead screwdrivers
• Battery terminal wrench
• Drill with assorted bits
• Wire loom and zip ties
• Heat shrink tubing
• Electrical tape
• Safety glasses
• Work gloves
• Cable ties
Optional but recommended tools:
• Circuit tester
• Wire routing tool
• Terminal cleaning brush
• Torque wrench
Keep all tools organized and within reach during installation. Having the right tools not only makes the job easier but also ensures proper connection and mounting of your DC-to-DC charger.

Materials and Components
To complete your DC-to-DC charger installation, you’ll need several essential components. For specialized tools, consider the advantages of tool rental to minimize upfront costs. Here’s your materials checklist:
Essential Components:
– DC-to-DC charger unit (rated for your vehicle’s specifications)
– Heavy-duty battery cables (minimum 6 AWG)
– Ring terminals (matching cable size)
– Circuit breaker or fuse (rated for charger amperage)
– Cable crimping tool
– Heat shrink tubing
– Cable ties
Mounting Hardware:
– Stainless steel mounting brackets
– Self-tapping screws
– Anti-vibration washers
– Weather-resistant mounting tape
Additional Materials:
– Wire loom or conduit
– Weatherproof connectors
– Terminal boots
– Battery terminal cleaner
– Dielectric grease
– Zip ties
– Electrical tape
Ensure all components are rated for automotive use and match your specific charger’s requirements. Quality materials are crucial for safety and longevity.
Safety First: Preparation Steps
Vehicle Preparation
Before starting the installation, park your vehicle in a well-ventilated, well-lit workspace with enough room to move around comfortably. Ensure the engine is off and the vehicle has cooled down completely. For safety, disconnect the negative terminal of your main battery first, followed by the positive terminal, and secure the cables away from the battery posts.
Clear the workspace of any flammable materials and lay out a clean tarp or mat to organize your tools and components. Remove any metal jewelry or watches to prevent accidental shorts, and keep a fire extinguisher nearby as a precaution.
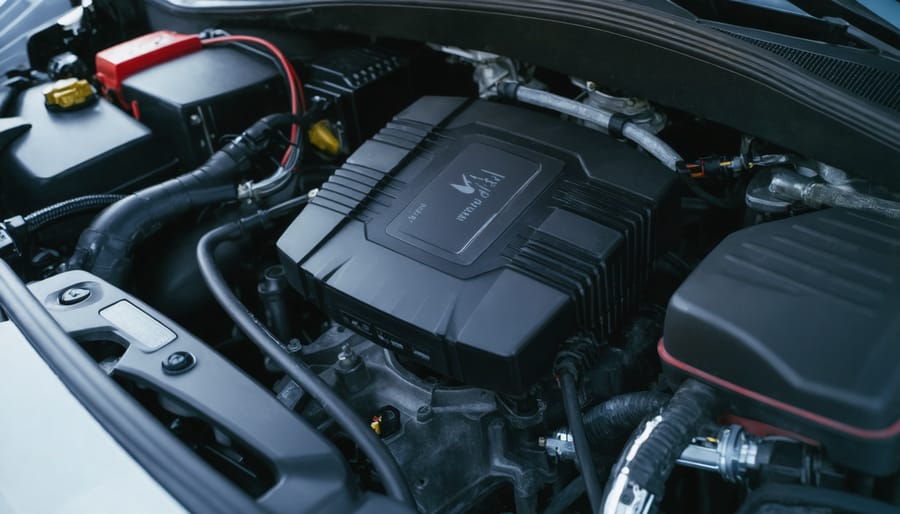
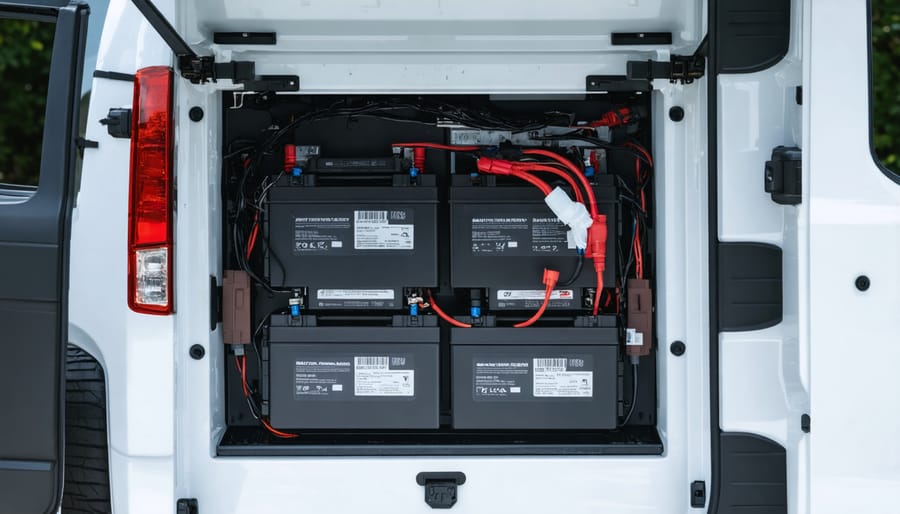
Locate your vehicle’s auxiliary battery mounting area, typically in the rear cargo area or engine bay. Clean this area thoroughly and ensure it’s free from moisture, dirt, and corrosion. If mounting in the engine bay, identify suitable locations away from heat sources and moving parts.
Take photos of your current electrical setup for reference, particularly noting the positions of existing wiring and connection points. This documentation will prove invaluable during the installation process and can help with troubleshooting if needed.
Finally, gather all necessary tools and verify that you have all required components before proceeding with the installation.
Personal Safety Measures
Before beginning any work on your DC-to-DC charger installation, it’s crucial to follow proper electrical safety precautions and use appropriate personal protective equipment (PPE). Always wear insulated gloves rated for electrical work, safety glasses to protect against sparks or debris, and closed-toe shoes with rubber soles. Keep a Class C fire extinguisher nearby, as it’s specifically designed for electrical fires.
Ensure your workspace is clean, dry, and well-ventilated. Remove all metal jewelry, including watches and rings, which can conduct electricity. Have a first-aid kit readily accessible, and if possible, work with a partner who can assist or call for help in case of emergency.
Before touching any wiring, disconnect the vehicle’s battery and use a multimeter to verify there’s no residual charge in the system. Keep your tools organized and properly insulated, and never work on electrical systems when tired or under the influence of medications that may affect your judgment.
Step-by-Step Installation Process
Mounting Location Selection
Selecting the right mounting location for your charging system is crucial for both performance and safety. When installing a dc to dc charger, choose a spot that’s protected from extreme heat, water, and direct sunlight. The ideal location should be well-ventilated and easily accessible for maintenance.
Start by identifying areas in your engine bay or vehicle interior that meet these criteria. Common mounting locations include:
– The firewall (engine bay side)
– Inner fender wells
– Behind the passenger seat
– In dedicated storage compartments
Ensure the chosen spot has enough clearance for the unit and its connections. Measure the charger’s dimensions and add at least 2 inches of space on all sides for proper airflow. The mounting surface should be flat, stable, and capable of supporting the charger’s weight.
Before drilling any holes, check for:
– Existing wiring harnesses
– Fuel lines
– Brake lines
– Structural components
Mark your mounting points carefully and use appropriate hardware for your vehicle’s construction material. If mounting on metal, consider using rubber isolation mounts to reduce vibration. For interior installations, ensure the location won’t interfere with passenger movement or safety features.
Wiring Installation
Begin by routing your main power cables from the auxiliary battery to the DC-to-DC charger location. Use appropriate gauge wire based on your system’s amperage – typically 6 AWG for most installations up to 50 amps. Always include a fuse holder within 12 inches of the auxiliary battery’s positive terminal for safety.
Strip back the cable insulation carefully, using proper wire strippers to avoid damaging the copper strands. Attach ring terminals to the battery ends using a proper crimping tool, ensuring a secure connection. For the charger end, follow the manufacturer’s recommended terminal type.
When running cables through the vehicle, use existing cable channels where possible and protect wires with split loom tubing in areas exposed to heat or abrasion. Secure cables every 12 inches using cable ties or mounting clamps, ensuring they’re away from moving parts and sharp edges.
Connect the ignition wire (usually red) to a switched power source that’s only active when the vehicle is running. The most common connection points are the fuse box or ignition switch. Use a multimeter to verify the connection provides 12V only when the engine is running.
For the ground connection, clean the mounting point thoroughly and attach directly to the vehicle’s chassis using a ring terminal and self-tapping screw. Avoid painting or coating the connection point, as this can impair conductivity.
Install your temperature sensor (if included) near the auxiliary battery, ensuring good contact while keeping the wire away from heat sources. Finally, double-check all connections for tightness and proper polarity before connecting the main battery.
Remember to leave enough slack in the wires to account for vehicle movement and vibration, but avoid excessive loose cabling that could catch or chafe. Label all wires clearly for future reference and maintenance.
Charger Connection and Setup
With all components mounted and wired, it’s time for the final connections and initial setup of your DC-to-DC charger. First, double-check all your connections against your wiring diagram before proceeding. Pay special attention to the positive and negative terminals, ensuring they’re properly connected and securely fastened.
Connect your vehicle’s main battery to the input side of the charger, following the manufacturer’s polarity markings. For the auxiliary battery connection, attach the output cables while maintaining consistent polarity. Most modern DC-to-DC chargers feature LED indicators that will illuminate when properly connected.
Before starting your vehicle, verify that the charger’s voltage settings match your auxiliary battery specifications. Many units come with adjustable switches or dials for different battery types (AGM, lithium, or standard lead-acid). If your charger includes a solar input option, ensure those connections are properly configured according to your setup.
Power up the system by starting your vehicle. The charger should automatically detect the input voltage and begin charging the auxiliary battery. Watch for the status indicators – most units display charging status through LED patterns. A solid green light typically indicates normal operation, while flashing patterns might signal different charging stages or potential issues.
Monitor the system for the first few hours of operation. Check for any unusual heat, sounds, or smells. Use a multimeter to verify the output voltage matches your expectations. Many modern chargers include built-in protection against overcharging, reverse polarity, and thermal issues, but it’s still important to confirm everything is functioning correctly.
Keep the manufacturer’s manual handy for the first few days of operation. Some chargers require a brief “learning period” to optimize their charging algorithms for your specific setup. If you notice any irregular behavior, consult the troubleshooting section of your manual before making adjustments.
Testing and Troubleshooting
Initial Testing
Before powering up your system, perform these essential verification steps. First, double-check all connections are tight and properly insulated. Using a multimeter, measure the voltage at both input and output terminals while the engine is off and running. You should see approximately 12V with the engine off and 14V when running.
Next, start your vehicle and verify the charging indicator LED (if equipped) illuminates. Monitor the auxiliary battery voltage – it should begin charging when the main battery reaches about 13.2V. Check for any unusual heating around connection points or the charger unit itself.
Run the system for 15-20 minutes while monitoring temperatures and voltages. If everything remains stable and within specifications, test your auxiliary battery-powered devices. Listen for any unusual sounds from the charger and ensure proper ventilation around the unit.
Document all test readings for future reference. If you notice any irregularities, power down immediately and recheck your connections.
Common Problems and Solutions
During installation, you may encounter several common issues, but most have straightforward solutions. If your charger isn’t powering up, first check all connections for proper polarity and tight terminal connections. Loose wires are often the culprit behind intermittent charging problems. For voltage fluctuations, verify your ground connection is solid and directly connected to the vehicle’s chassis.
When experiencing overheating issues, ensure proper ventilation around the unit and check that the amperage settings match your battery specifications. Some users report error codes during initial setup – consult your manual’s common troubleshooting solutions for specific error code meanings and fixes.
If your battery isn’t charging despite proper installation, confirm the input voltage meets the charger’s requirements and check for any blown fuses in the system. Remember that most modern DC-to-DC chargers have built-in diagnostic features – use these to identify and resolve issues quickly.
Installing a DC-to-DC charger is a rewarding DIY project that can significantly enhance your vehicle’s electrical system when done correctly. Throughout this guide, we’ve covered the essential steps from initial planning and component selection to final testing and optimization. Remember that proper preparation, including gathering all necessary tools and materials beforehand, is crucial for a successful installation.
Safety should always remain your top priority. Before working on any electrical system, ensure the vehicle’s battery is disconnected and all power sources are isolated. Double-check all connections, use appropriate wire gauges, and properly secure all components to prevent movement during vehicle operation.
Keep your installation manual handy for future reference, and maintain a regular inspection schedule to ensure all connections remain tight and corrosion-free. If you encounter any issues during operation, refer to the troubleshooting section or consult a professional if needed.
For those who completed their first DC-to-DC charger installation, congratulations on enhancing your vehicle’s charging capabilities! Regular maintenance and periodic checks will help ensure your system continues to perform optimally for years to come. Remember that electrical systems can evolve with your needs, so document any modifications for future reference or upgrades.
Before hitting the road, perform one final comprehensive check of all connections and ensure all tools and materials are removed from the work area. Safe travels!
Related Posts

Post a Comment