

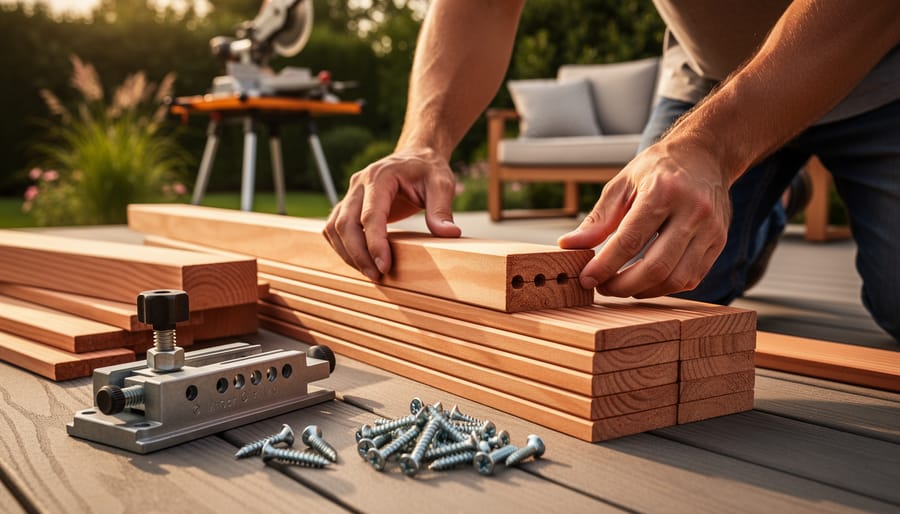
Transform standard 2×4 lumber into stunning outdoor furniture for a fraction of retail costs. These versatile boards, typically priced under $5 each, offer exceptional strength and durability for patio pieces that withstand years of use. Start by selecting straight, defect-free boards at your local hardware store, checking each piece for warping, large knots, or splits that compromise structural integrity. Purchase pressure-treated lumber for ground-contact projects or untreated boards for elevated furniture that you’ll seal properly.
Cut precise measurements using a miter saw or circular saw, ensuring square edges for professional-looking joints. Pocket hole joinery creates invisible, robust connections between boards—drill angled holes with a jig and secure with 2.5-inch coarse-thread screws designed for outdoor use. Sand all surfaces thoroughly with 80-grit followed by 120-grit paper to prevent splinters and prepare wood for finishing.
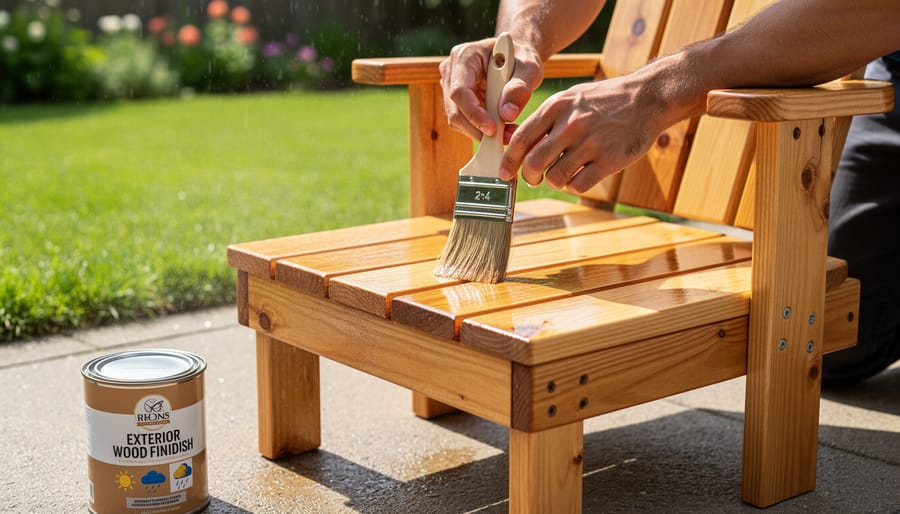
Apply exterior wood stain or sealant within 48 hours of construction to protect against moisture damage and UV degradation. Two coats provide optimal protection, with light sanding between applications.
Whether you’re new to furniture making for beginners or have workshop experience, 2×4 projects deliver impressive results without requiring specialized equipment. Simple designs like benches and side tables need only basic tools, while complex pieces like sectional sofas showcase your growing skills. The straightforward dimensions of 2x4s eliminate complicated calculations, letting you focus on assembly techniques and creative design elements that personalize your outdoor space.
Why 2x4s Are Perfect for DIY Patio Furniture
If you’re new to outdoor woodworking, 2×4 lumber offers an ideal starting point for creating beautiful patio furniture without breaking the bank. Here’s why this humble building material has become the go-to choice for DIY furniture makers.
The most compelling advantage is cost. A standard 8-foot 2×4 typically runs between $3-8 depending on your location and wood grade, making it significantly cheaper than buying pre-made outdoor furniture. Compare this to a basic store-bought patio chair that starts around $75-150, and you’ll quickly see the savings add up. Most simple furniture projects require 10-15 boards, putting your total material cost under $100 for a complete piece.
Availability makes 2x4s incredibly convenient. Every home improvement store, lumber yard, and hardware shop stocks them year-round in consistent dimensions. You won’t waste time hunting for specialty materials or waiting for custom orders. This standardization also means you can easily replace or add pieces to your project if measurements don’t work out the first time.
Working with 2x4s is genuinely beginner-friendly. The uniform 1.5″ x 3.5″ actual dimensions (despite the 2×4 name) simplify measurements and planning. You don’t need expensive tools either. Basic cuts can be made with a circular saw or even a hand saw, and assembly typically requires just a drill and some exterior-grade screws.
Durability is another strong suit when you choose pressure-treated or naturally rot-resistant wood like cedar. With proper sealing and occasional maintenance, 2×4 patio furniture can last 10-15 years outdoors. The forgiving nature of this material means minor mistakes won’t ruin your project. Slightly uneven cuts or small gaps? They add rustic character rather than looking like costly errors.
Essential Tools and Equipment You’ll Need
Must-Have Tools
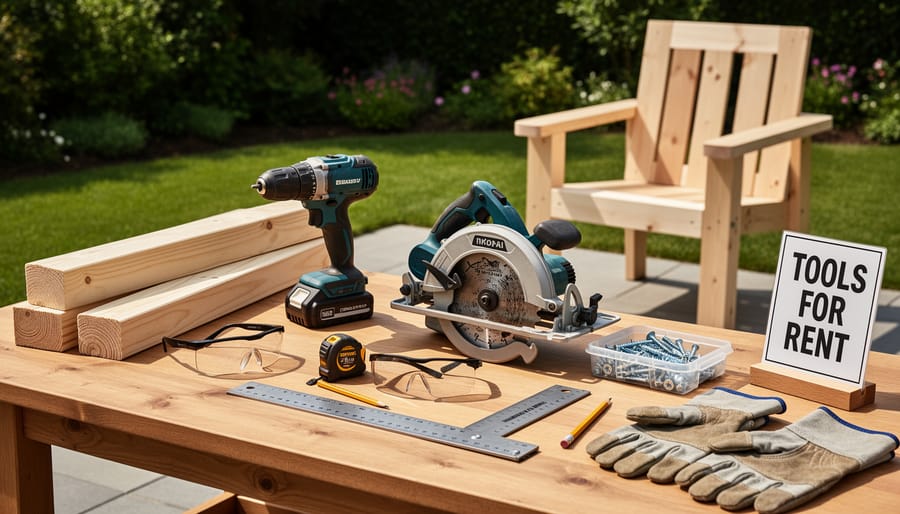
Building 2×4 patio furniture doesn’t require a professional workshop. You’ll need a circular saw or miter saw to make straight, accurate cuts through the dimensional lumber. A miter saw provides cleaner angles for projects like lounge chairs, but many DIYers achieve great results with a circular saw and speed square. If you don’t own either, consider renting a miter saw for faster, more precise work.
A cordless drill with both drilling and driving capabilities is essential. Pick up a set of drill bits and driver bits, including a countersink bit to hide screw heads below the wood surface for a cleaner look.
For measurements, you’ll need a 25-foot tape measure, a combination square, and a pencil. Community builders consistently recommend the combination square for marking cut lines and checking right angles.
Don’t skip safety gear. Wear safety glasses to protect from sawdust and wood chips, and use hearing protection when operating power tools. Work gloves help prevent splinters during assembly.
A random orbital sander smooths rough edges and prepares surfaces for finishing. Many tool rental shops offer weekend packages that include multiple tools at discounted rates, making your first project more affordable.
Nice-to-Have Tools That Save Time
While you can absolutely build quality patio furniture with basic hand tools, a few additional items can significantly reduce build time and improve results. The good news? You don’t need to buy everything.
A power sander cuts finishing time dramatically, transforming rough lumber into smooth, splinter-free surfaces in minutes rather than hours of hand sanding. An electric drill with adjustable clutch settings prevents overdriving screws and splitting wood. For anyone tackling multiple furniture pieces, a compound miter saw delivers precise, repeatable cuts that speed up assembly considerably.
Consider exploring tool rental options for these time-savers, especially if you’re building just one or two pieces. Many DIYers in our community report that renting a quality orbital sander for a weekend costs less than buying a budget model, and the professional-grade results speak for themselves.
A Kreg jig system, while optional, creates clean pocket hole joints that eliminate visible screws for a more polished look. Bar clamps help hold pieces square during assembly, though you can often improvise with rope or ratchet straps for occasional projects. The key is matching tool investment to your building frequency and budget.
Selecting and Preparing Your 2×4 Lumber
Choosing the Right 2x4s at the Lumberyard
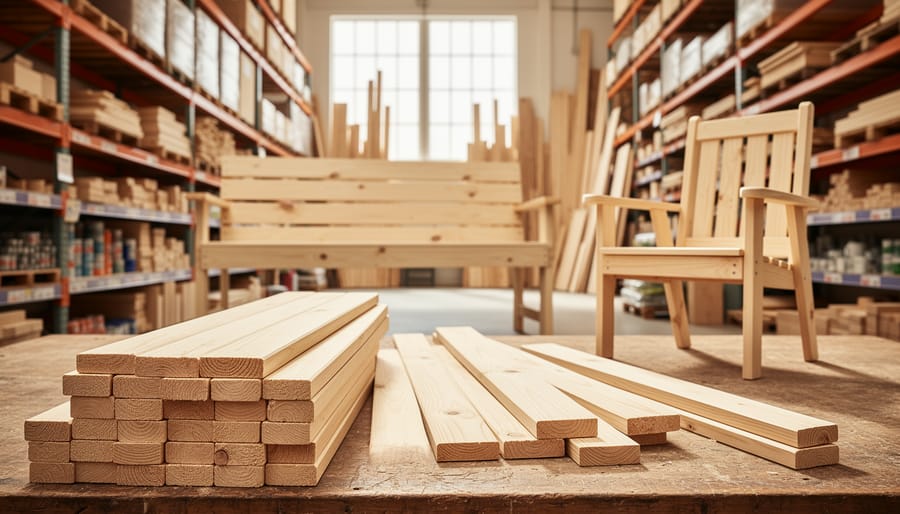
Selecting quality lumber is crucial for furniture that withstands outdoor conditions. Start by sighting down each board’s length to check for straightness. Hold one end at eye level and look toward the other end. Any twist, bow, or cup will be immediately visible. While minor imperfections can work for shorter pieces, prioritize straight boards for your main structural components.
Examine knots carefully. Small, tight knots are usually fine, but avoid boards with large, loose knots or knots that fall along cutting lines. These weak spots can compromise your furniture’s stability over time.
Check moisture content by feeling the wood. Kiln-dried lumber stamped “KD” or “KDAT” (kiln-dried after treatment) is ideal for outdoor projects. Avoid boards that feel damp or have visible water stains, as they’ll warp during the drying process.
For outdoor furniture, pressure-treated lumber offers the best protection against rot and insects. Look for ground-contact rated wood marked “UC4B” for pieces touching the ground. Standard above-ground rated lumber works fine for elevated components. Some DIYers prefer cedar or redwood for their natural weather resistance and appearance, though they cost significantly more.
Community members recommend buying 10-15 percent extra lumber to account for defects you might miss initially. This saves return trips mid-project.
Prep Work: Cutting, Sanding, and Treating
Proper prep work separates furniture that lasts one season from pieces you’ll enjoy for years. Start by measuring and marking all your 2×4 cuts clearly with a carpenter’s pencil. A miter saw or circular saw works best for straight cuts—many community members report that renting a quality miter saw saves time and produces cleaner results than hand tools.
After cutting, sand all surfaces thoroughly with 120-grit sandpaper, paying special attention to edges and ends where splinters commonly occur. This step is non-negotiable for comfort and safety. Progress to 220-grit for a smooth finish, especially on armrests and seats where skin contact occurs.
Next, treat your wood for weather resistance. Apply a wood conditioner first to help stain absorb evenly, particularly important with 2x4s which can have varying moisture content. Let it dry completely before applying your chosen finish—either exterior stain, sealant, or paint rated for outdoor use. Apply at least two coats, allowing proper drying time between applications.
Safety reminder: Always wear safety glasses when cutting and a dust mask during sanding. Work in a well-ventilated area when applying finishes, and keep a first aid kit nearby. Taking these precautions seriously prevents the most common DIY injuries reported in our community feedback.
Five Beginner-Friendly 2×4 Patio Furniture Projects
Simple Outdoor Bench
This beginner-friendly bench requires just five 8-foot 2x4s and basic cuts—no complex angles or fancy joinery needed. You’ll build a sturdy 4-foot bench using simple butt joints secured with exterior screws.
Start by cutting four legs at 18 inches each. Cut two long seat supports at 48 inches and four shorter cross supports at 14 inches. The seat itself uses four 48-inch boards placed side-by-side. Assemble the frame first: attach the 14-inch supports between the legs to create two end units, then connect them with your 48-inch supports. Screw down the seat boards, leaving small gaps for water drainage.
Most DIYers complete this project in 2-3 hours. Community member Sarah K. shared, “I had never used a miter saw before this project. Taking my time with measurements, I finished in an afternoon and saved over $150 compared to store-bought benches.”
Safety tip: Always wear eye protection when cutting, and ensure your workspace is level and stable. Pre-drilling screw holes prevents wood splitting and makes assembly much easier for beginners.
Classic Adirondack Chair
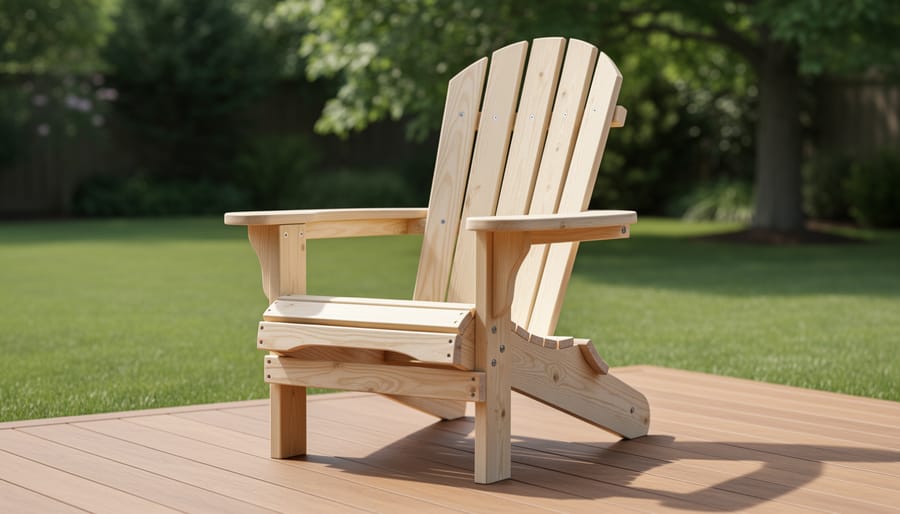
The classic Adirondack chair represents the quintessential outdoor seating choice, and building one from 2x4s is more achievable than you might think. This intermediate-level project requires precise angled cuts at 10, 15, and 20 degrees for proper ergonomics, so a miter saw becomes essential here.
Start by cutting all pieces according to your plan, paying special attention to the signature slanted back and contoured seat. The back legs angle at approximately 25 degrees from vertical, creating that iconic reclined position. Many DIYers in our community recommend making a full-size template from cardboard first to visualize angles before cutting expensive lumber.
Assembly requires patience. Begin with the seat frame, then attach the back support structure. Pre-drill all screw holes to prevent splitting, especially near board ends. User feedback consistently highlights the importance of dry-fitting everything before final assembly.
One community member shared this insight: “I used deck screws and construction adhesive on all joints. Three years later, zero wobble despite harsh winters.”
The curved back slats add complexity but dramatically improve comfort. Consider renting a jigsaw if you don’t own one for these gentle curves.
Patio Coffee Table
A coffee table serves as the centerpiece for your outdoor seating area, and building one from 2x4s requires just basic pocket hole joinery or traditional lap joints. Start by cutting four 2x4s to 36 inches for your tabletop slats. For the frame, cut two pieces at 36 inches and two at 16 inches. The legs need four 16-inch pieces for a comfortable height.
The key to a sturdy table lies in proper bracing. Add cross supports beneath the tabletop using 2×4 pieces secured with 2.5-inch exterior screws. Many DIYers in our community recommend using a kreg jig for pocket holes, which creates invisible joints and significantly speeds up assembly time. If you don’t own one, check local tool rental options.
Space your tabletop slats about half an inch apart to allow water drainage and prevent warping. This small detail makes a huge difference in longevity. Sand all surfaces with 120-grit sandpaper before applying an exterior wood stain or sealer. One builder shared that pre-drilling all screw holes prevented splitting and saved an entire project from frustration.
Outdoor Sectional Sofa
A sectional sofa transforms any outdoor hangout space into a luxurious retreat, and building one from 2x4s is surprisingly straightforward. The secret lies in creating identical box frames that connect together, making this perfect for beginners.
Start by building simple rectangular frames for seats and backrests using 2x4s laid flat. Each seat module typically measures 24 inches deep by 24-30 inches wide. Stack two 2x4s for the seat platform to support weight properly. The backrest frames attach at a comfortable 100-degree angle using galvanized screws or construction brackets.
The modular approach means you can create an L-shape, U-shape, or straight configuration to fit your space. Many DIYers report this project taking a weekend to complete. Construction is repetitive, which actually speeds up the process once you’ve built your first module.
Connect modules using carriage bolts for stability while maintaining the option to reconfigure later. Add weather-resistant cushions for comfort and a polished look that rivals store-bought furniture costing thousands.
Planter Box Bench Combo
This dual-purpose design maximizes your patio’s functionality by combining comfortable seating with integrated planters. The project uses 2x4s for the bench frame and seat, with wider boards for the planter boxes on each end.
Start by building two rectangular planter boxes as the end supports. Each box measures approximately 18 inches wide by 16 inches deep by 18 inches tall. Use pocket hole joinery or exterior wood screws to assemble the frames, then attach plywood or additional 2x4s as the planter base. Line the interior with landscape fabric to protect the wood from soil moisture.
Connect the planters with a horizontal seat frame using 2x4s as support beams. Space 2×4 boards about half an inch apart across the frame to create the seating surface, ensuring proper drainage and a comfortable seat. The finished bench typically spans 5 to 6 feet in length.
Community builder Sarah M. notes that adding a waterproof liner inside each planter extends the wood’s lifespan significantly. She recommends using cedar or treating pine with exterior-grade sealant before assembly. The design accommodates herbs, flowers, or small vegetables, creating a living garden feature that doubles as practical seating for entertaining.
Joinery Techniques for Strong, Long-Lasting Furniture
Building sturdy patio furniture from 2x4s doesn’t require advanced woodworking skills, but choosing the right joinery method makes all the difference between furniture that lasts years versus pieces that wobble after one season. Here are the most beginner-friendly techniques that deliver professional results.
Exterior wood screws remain the simplest starting point for 2×4 furniture. Use 2.5-inch or 3-inch screws rated for outdoor use, and always pre-drill pilot holes to prevent splitting. The pilot hole should be slightly smaller than the screw shaft, allowing threads to grip while the wood fibers stay intact. This basic method works well for straightforward connections, though you’ll see screw heads unless you countersink them.
Pocket hole joinery has become incredibly popular among DIY builders, and for good reason. A pocket hole jig (available at most rental centers) guides your drill at a 15-degree angle, creating a hidden joint that’s both strong and clean-looking. The angled screws pull boards tightly together, creating seamless corners perfect for benches and table frames. Many community builders report this as their favorite technique after trying it once.
Lap joints offer another accessible option where you remove half the thickness from each board so they overlap flush. While this requires careful measuring and cutting, the increased glue surface area creates exceptional strength. Use exterior wood glue along with screws for maximum durability.
For added reinforcement, corner braces and metal brackets provide insurance against racking and wobbling. Install them on interior corners where they won’t be visible. Cross-bracing between legs also significantly improves stability, especially for taller pieces like bar-height tables.
Remember that outdoor furniture faces constant stress from weather and use, so don’t skimp on fasteners. User feedback consistently shows that over-building connections prevents repairs later.
Finishing and Weatherproofing Your Furniture
Protecting your 2×4 patio furniture from sun, rain, and temperature swings is essential for longevity. Without proper finishing, outdoor lumber can warp, crack, or develop mold within a single season. Here’s how to weatherproof your project effectively.
Start by sanding all surfaces with 120-grit sandpaper to remove rough spots and splinters. This step ensures even absorption of your protective finish. Always sand with the grain to avoid visible scratches.
For finish options, consider your climate and maintenance preferences. Exterior wood stain penetrates the lumber while adding color and UV protection. It typically needs reapplication every 1-2 years but showcases the natural wood grain beautifully. Choose semi-transparent stains for moderate protection or solid stains for maximum coverage in harsh climates.
Waterproofing sealers create a protective barrier without changing wood color. Apply two coats for best results, allowing 24 hours between applications. These work well in dry climates but may require annual touch-ups in wet regions.
Exterior paint offers the most durable protection and comes in endless colors. Use a quality exterior primer first, followed by two coats of exterior latex paint. Painted furniture can last 3-5 years before needing refresh in most climates.
For coastal areas with salt air, apply marine-grade sealers. In regions with extreme temperature fluctuations, choose products specifically rated for thermal expansion and contraction.
Application tips from our community: Work in temperatures between 50-85 degrees Fahrenheit, apply thin coats rather than one thick layer, and always let lumber acclimate outdoors for 48 hours before finishing. One user reported that applying finish to all sides, including undersides, doubled their furniture’s lifespan by preventing moisture absorption.
Maintain your furniture by cleaning it quarterly with mild soap and water, and reapply protective finishes according to manufacturer recommendations.
Common Mistakes and How to Avoid Them
Even experienced DIYers encounter challenges when building patio furniture from 2x4s. Learning from common mistakes can save you time, money, and frustration.
Measurement errors top the list of rookie mistakes. As community member Sarah M. shares, “I cut all my pieces before double-checking measurements and ended up with a wobbly bench.” Always measure twice and cut once, and remember that 2x4s aren’t actually 2 inches by 4 inches—they measure 1.5 by 3.5 inches after milling. Account for this in your plans to avoid gaps and misalignments.
Wood selection problems frequently derail projects. Not all 2x4s are created equal. Kevin R., a professional carpenter, warns, “Grabbing the cheapest lumber is tempting, but warped or knotty boards create structural headaches.” Inspect each board for straightness by sighting down its length. Avoid pieces with large knots near joints or edges where stress concentrates.
Skipping weatherproofing is perhaps the costliest mistake. Without proper sealing, outdoor furniture deteriorates rapidly. Maria T. learned this hard way: “My beautiful chair lasted one season before rotting.” Apply exterior-grade stain or sealant to all surfaces, including ends and undersides, before assembly when possible.
Structural weaknesses often stem from inadequate fastening. Pre-drilling screw holes prevents splitting, especially near board ends. Use galvanized or stainless steel hardware to resist rust. Reinforce joints with corner braces on pieces that bear weight. When in doubt, add extra support—outdoor furniture faces wind, weather, and constant use that tests every connection.
Cost Breakdown: DIY vs. Store-Bought
Let’s break down the real numbers behind building your own 2×4 patio furniture. A basic DIY outdoor sofa using 2x4s typically costs $80-120 in materials, including lumber, screws, sandpaper, and exterior finish. The same quality piece retails for $300-500 at furniture stores, representing savings of 60-75%.
However, this cost comparison needs context. First-time builders should factor in tool costs. If you don’t own a drill, saw, and sander, renting these from your local tool hire runs approximately $30-50 for a weekend project. Even with rental fees, you’re still saving $150-350 per piece.
Time investment matters too. Expect 4-6 hours for a simple chair or bench, 8-12 hours for a sofa or table. Community member feedback suggests beginners often underestimate assembly time by 30-40%, so plan accordingly.
The real value multiplies with each project. Once you’ve mastered one piece, building matching furniture becomes faster and more cost-effective. Many DIYers report their second project takes half the time of their first, maximizing those material savings without additional learning curves.
Building your own patio furniture from 2x4s is more accessible than you might think. These projects require minimal tools, basic skills, and materials you can find at any home center. Whether you’re crafting a simple bench or tackling a full lounge chair, starting with a straightforward design builds your confidence and skills for future projects.
Don’t let tool concerns hold you back. Many of the saws, drills, and sanders needed for these builds are available through local rental options, making it easy to access quality equipment without the upfront investment. This approach lets you test different tools and determine what works best for your building style before committing to purchases.
We encourage you to share your completed projects and lessons learned with the DIY community. Your experiences, whether triumphant successes or valuable mistakes, help others navigate their own builds. Post photos of your finished pieces, discuss what techniques worked well, and ask questions when you encounter challenges. The collective knowledge of fellow builders creates a valuable resource that benefits everyone from first-time furniture makers to experienced woodworkers refining their craft.
Start simple, stay safe, and enjoy the process of creating functional outdoor furniture that reflects your personal style.
Related Posts

Post a Comment